Want to Start Selling Your Designs as Stickers? Here's How.
So you see all of these people selling their cute stickers on Instagram and think, “Well dang, I want my designs to be stickers, too!”
I’ve got you - when I first started turning my designs into stickers, I tried so many different sticker printing companies before I found the best of the best. To save you time (and money and aggravation, you're welcome, lol) I'm going walk you through the process I followed turn my digital design into a real life sticker!

Tools used for the sticker design shown in this post:
⋒ 2020 iPad Air
⋒ Second Generation Apple Pencil
⋒ Procreate app for iPad
⋒ Canva.com (I have Canva Pro because I use it to make all the graphics in my biz but there is a free version of Canva available)
Steps followed to make all my sticker dreams come true:
1️⃣ Create your design.
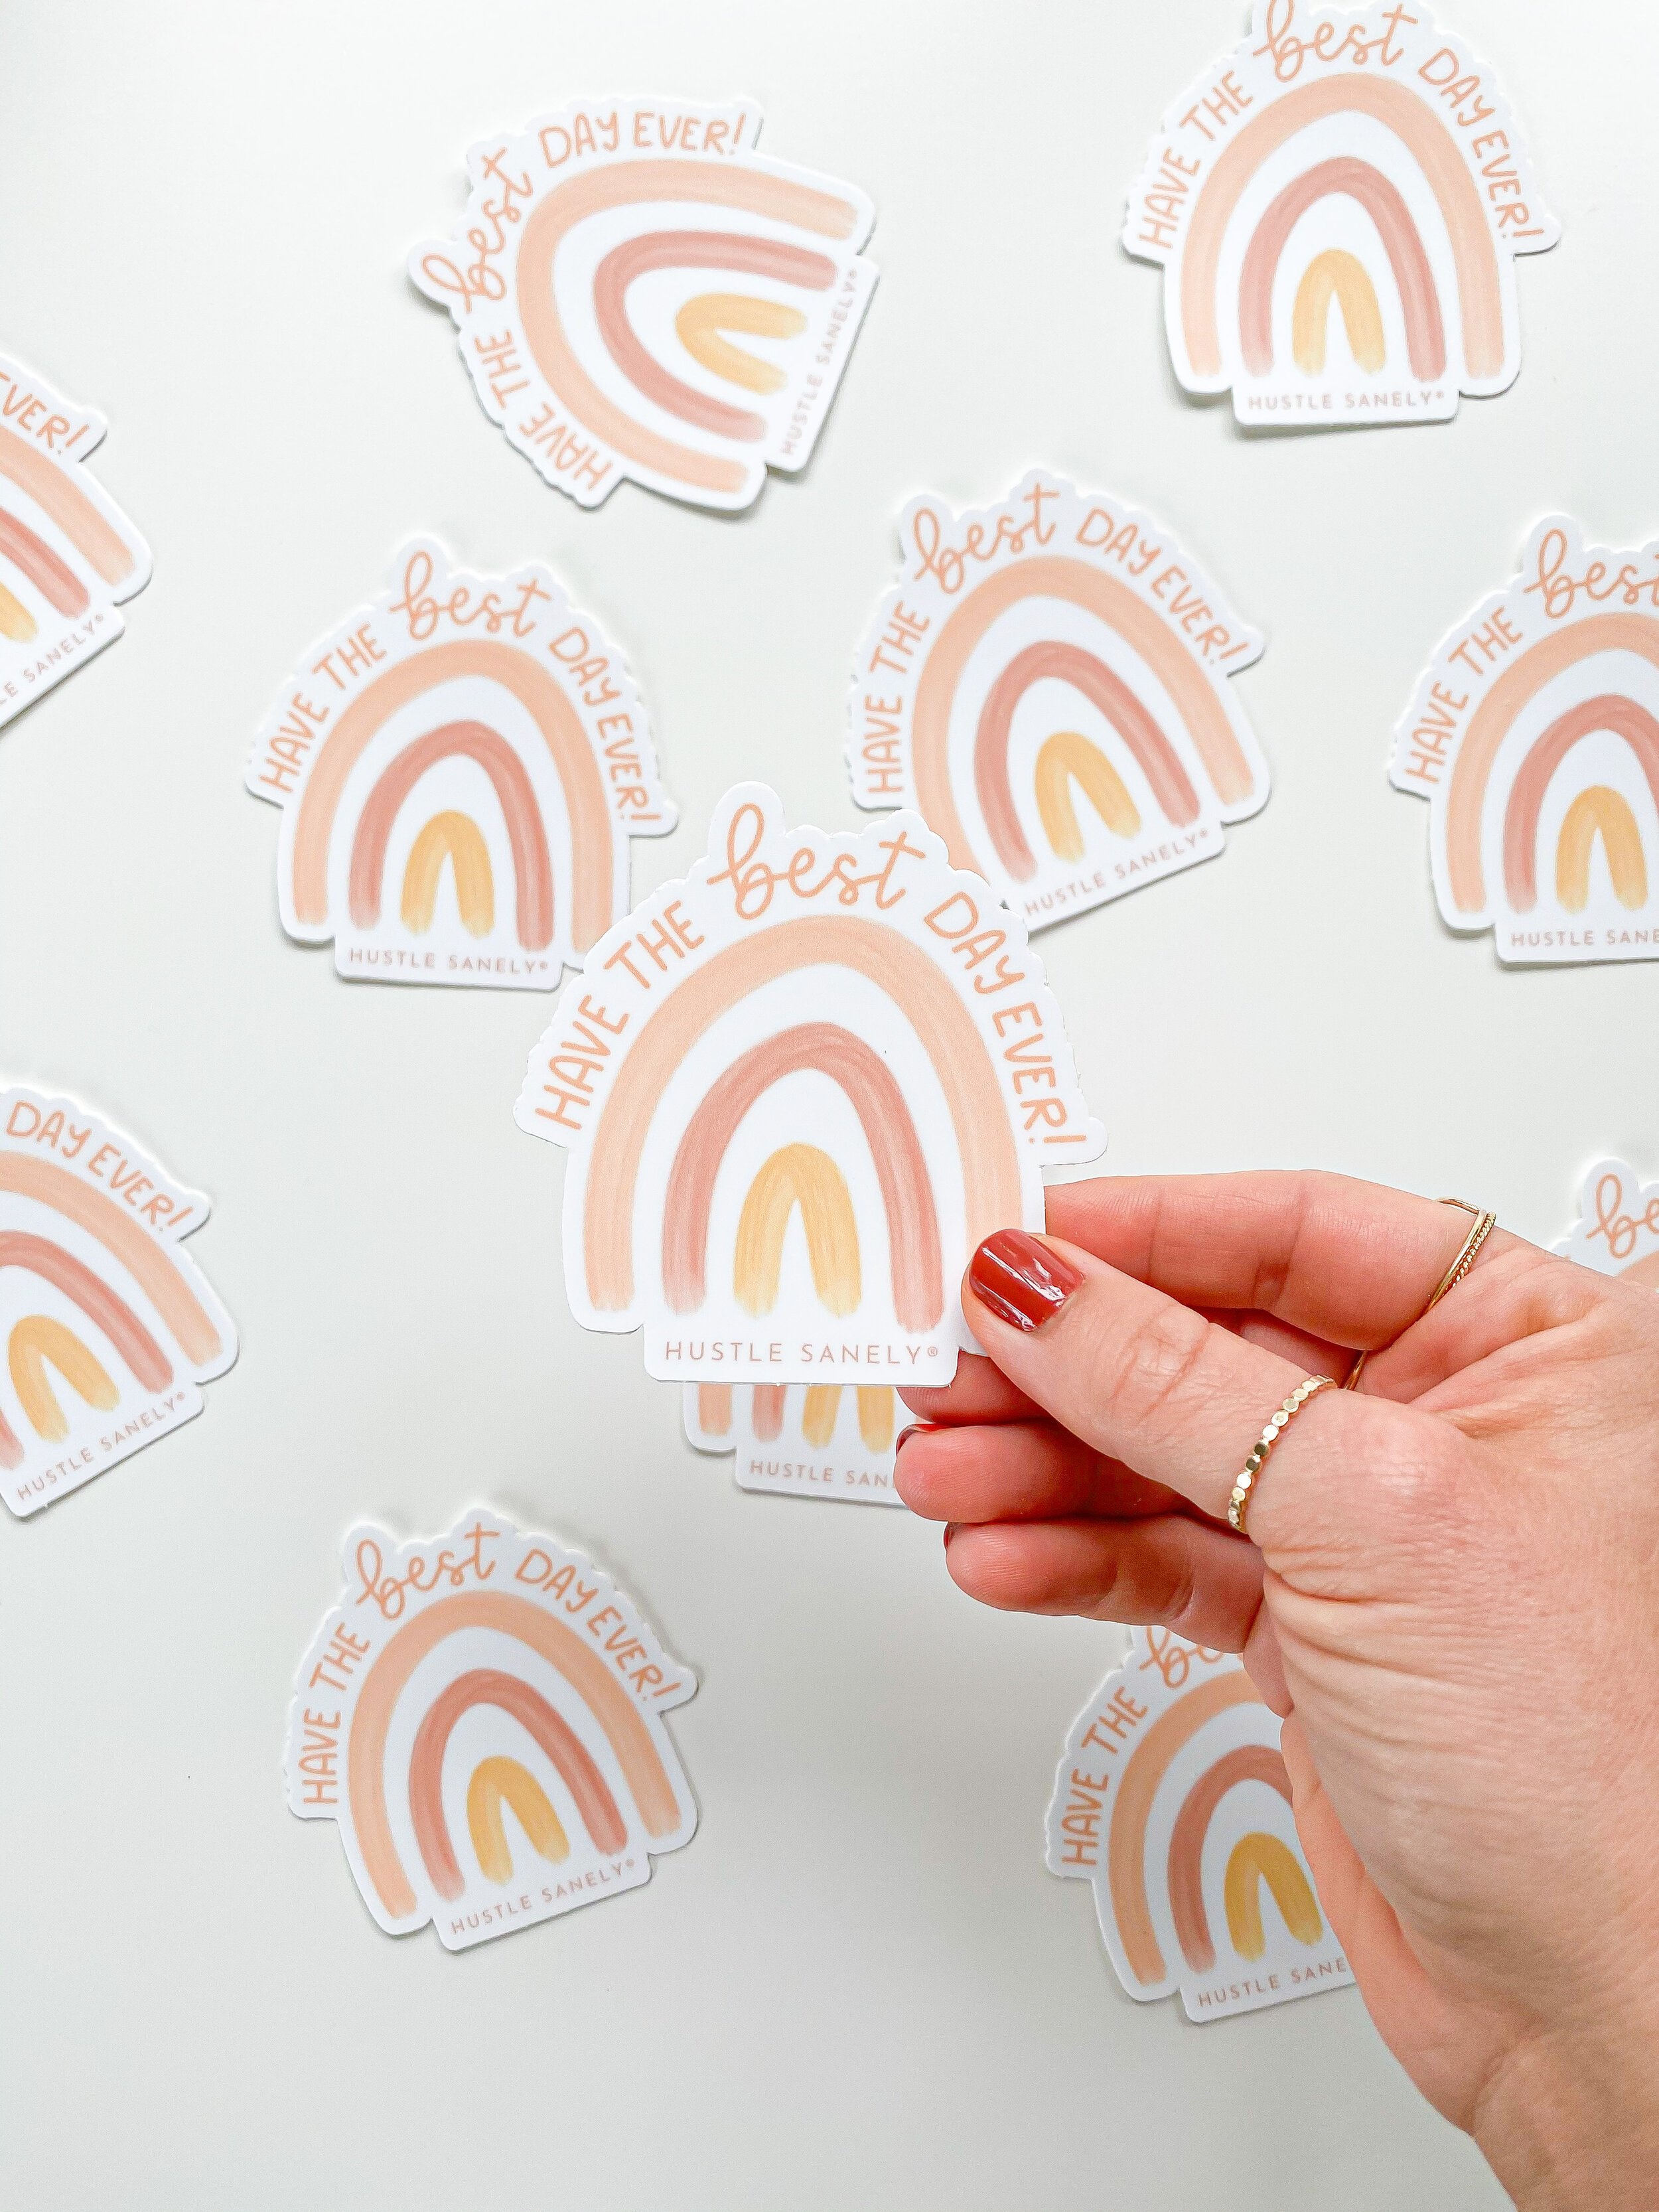
For the design in this post, I drew the rainbow and lettered “have the best day ever” on my iPad in the app Procreate. I exported the design as a transparent image and sent it to my laptop.
On my laptop, I opened the design in Canva to add the typed texted that you see at the bottom of the sticker.
Once I was happy with the final design, I saved it to my desktop as a PNG with a transparent background.
2️⃣ Upload your design to Sticker Mule.
Sticker Mule is super user-friendly and their customer service is incredible. I’ not kidding when I tell you that I tried at least 4 other sticker printing companies but Sticker Mule is hands down the best quality.
The stickers are sturdy and peel easily from the backing plus the images are clear which is really important when working with digital designs.
But once you go to Sticker Mule’s website, you can create a free account and easily select your sticker settings. I always go for die-cut because I like the sticker to be the shape of my design. Then you choose the size (I went with 3”x3”). Next choose how many stickers you want to order. Then you upload your artwork (the PNG file you saved from Canva).
After you checkout, Sticker Mule promptly sends a proof so you can make sure your design is just right before they print your stickers.
3️⃣ Patiently wait for your stickers to arrive!
This might be the hardest part, tbh 😂 But it’s so worth the wait because I’m telling you - it’s so surreal to see YOUR designs as actual stickers!
And that’s it! Turning your digital designs into physical stickers is a pretty simple process!
Oh and P.S. Sticker Mule recently introduced this new epic tool called Upscale which is a free image enlarger to help increase the resolution of any graphic or photo, instantly!
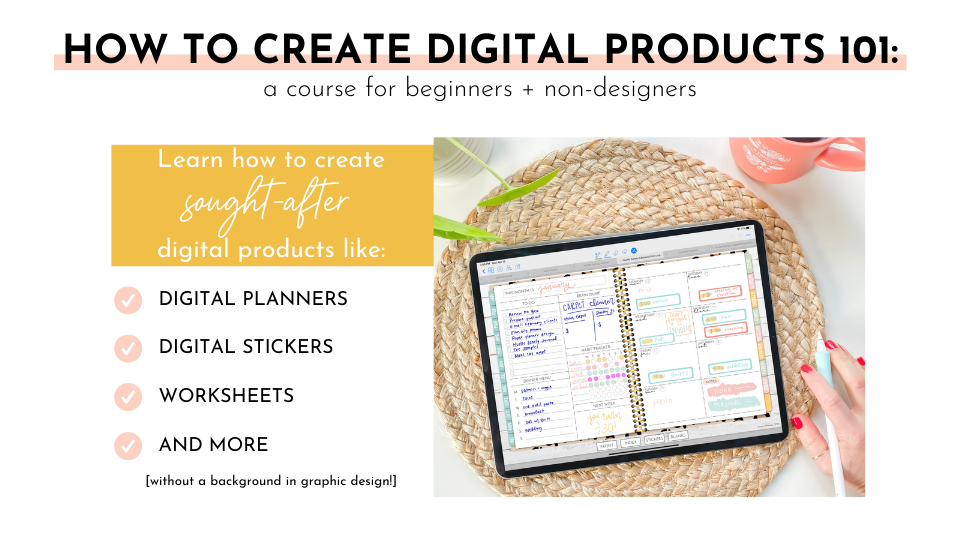
Interested in learning how to create other digital products, like digital planners, stickers, and worksheets? Check out our course How to Create Digital Products 101: A course for beginners and non-designers.
Note: Some of the links in the post are affiliate links. I am partnering with Sticker Mule for this post. I purchased over 500 Have the Best Day Ever stickers above and was very impressed with the quality of work so agreed to collaborate with them!